The Many Uses Of Food Processors
Food processors are a versatile addition to any kitchen, capable of performing various tasks that make food preparation easier and quicker. Below is a chart that highlights the different functionalities of food processors.
| Functionality | Description |
| Chopping | Easily chop vegetables, fruits, nuts or even cheese |
| Shredding | Ideal for shredding cheese, vegetables and meat |
| Slicing | Get perfect slices of vegetables and fruits effortlessly |
| Pureeing | Make smooth purees for soups, baby foods and dips |
| Grinding | Grind nuts or seeds for coatings or flours |
In addition to these typical functions, some food processors can also knead dough and function as blenders or juicers. However, some models are better suited to specific functions than others.
It is said that Julia Child was an early adopter of using a food processor extensively in cooking, making traditional French recipes more accessible to American home cooks. She was able to prepare complicated dishes with ease thanks to her handy food processor.
A good food processor can be an essential tool in the kitchen for its versatility and time-saving capabilities in food preparation. With proper know-how on how to use it effectively, anyone can create delicious meals at home with ease.
Move over, chef knife. Food processors are here to chop, blend, and shred anything in their path.
What Can You do With a Food Processor
To make the most of your food processor, you need to know its many uses. In order to chop and slice vegetables and fruits, puree and blend ingredients, grind nuts, seeds, and spices, make dough and pastry, and shred cheese and meat, read on to find out how a food processor can be the solution to your kitchen woes.
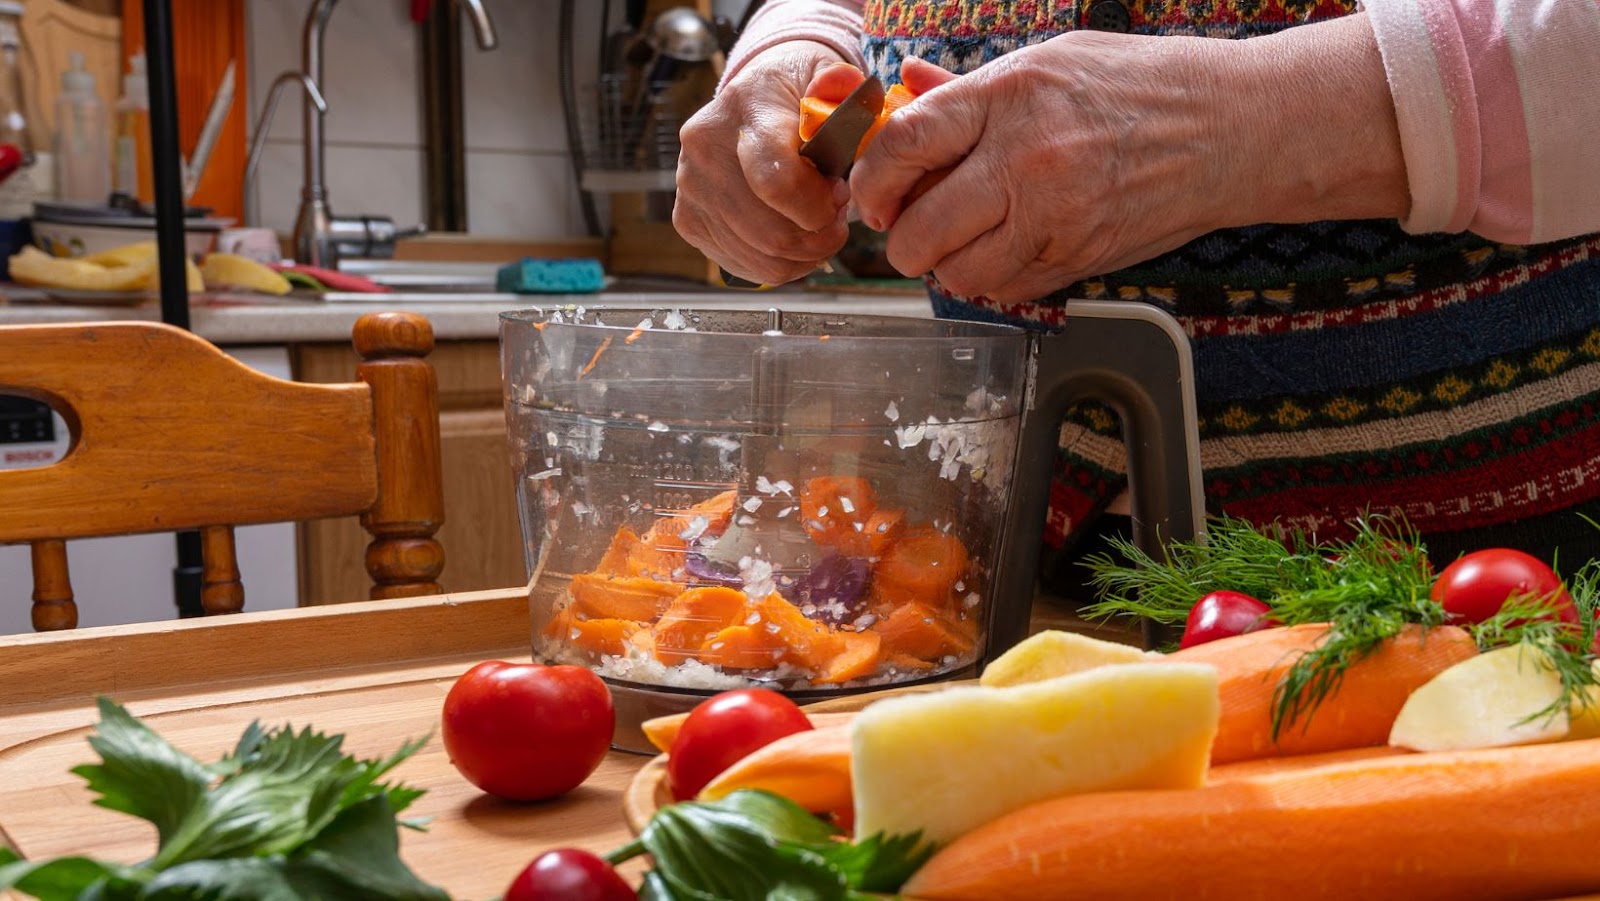
Chopping and Slicing Vegetables and Fruits
This kitchen device is commonly used for breaking down produce into smaller pieces. It can be utilized for preparing salads, soups, and other dishes. Here’s a guide to chopping and slicing vegetables and fruits using a food processor:
- Choose the appropriate blade – based on the size of the produce and intended result.
- Wash, peel, or trim the fruits or vegetables (if necessary) before placing them in the machine.
- Cut into small enough pieces to fit through the feeding chute.
- Turn on the machine according to manufacturer’s instructions, using low-medium speed for soft items like tomatoes; high speed for harder ones like carrots.
- When done, remove any residue from machine parts or blades, to ensure optimal functioning of equipment over time.
- Store collected food in refrigerator or freezer as desired.
A food processor can also be used to grind cheese, nuts and cut meat finely with ease. Despite its numerous benefits when handled properly by experienced persons, it must still be distinguished cautiously from other kitchen tools such as blenders which might not handle dry food well.
Did you know that 82% of US households own a food processor? (Source: Statista)
It’s amazing what a food processor can transform into a smooth puree – vegetables, fruits, and even your ex’s love letters.
Pureeing and Blending Ingredients
- Prepare the ingredients by chopping them in uniform sizes.
- Insert the desired blade into the processor bowl for pureeing or blending.
- Turn on the machine using the pulse or continuous settings and let it run until you achieve your desired consistency.
In addition to producing smooth textures, pureeing and blending food items saves time and effort compared to conventional techniques.
Fun Fact: According to Statista, the world’s leading statistics portal, the global food processor market is projected to grow at a compound annual growth rate of 6% between 2020-2025.
Why use a mortar and pestle when you can make a nutty powder with the push of a button? Food processors – making lazy cooks everywhere feel competent since the dawn of time.

Grinding Nuts, Seeds, and Spices
NLP Variation of Pulverizing nuts, seeds, and spices is a function that food processors can accomplish with ease. Let’s examine five common uses of this feature.
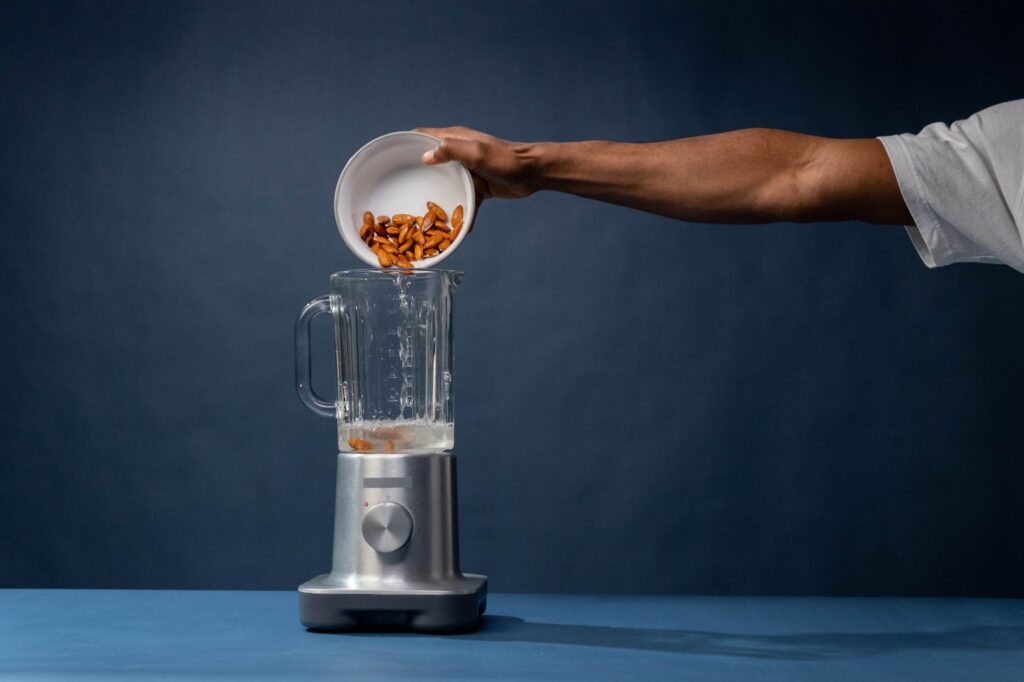
- Grind almonds to make almond butter
- Powder herbs and spices for seasoning
- Slice garlic cloves for cooking
- Mince sunflower seeds to use as a garnish on dishes
- Create homemade spice blends for unique flavors
While most food processors can handle pulverizing most nuts, seeds, and spices, certain models offer additional features to ensure optimal results.
To achieve perfect pulverization every time, remember to scrape the sides of the bowl often while processing. FOMO (Fear Of Missing Out) on producing delicious recipes is attainable by using one simple kitchen tool!
Give your culinary experience a boost by investing in a high-quality food processor today! Who needs biceps when you have a food processor to knead your dough for you?
Making Dough and Pastry
The food processor is an essential appliance in every kitchen, and it can simplify various culinary tasks. One of its common uses is for creating dough and pastry.
To make the perfect dough or pastry crust, here’s a step-by-step guide:
- Combine all-purpose flour, salt, and sugar in the food processor bowl.
- Add cold unsalted butter to the mix, then pulse until you achieve a coarse texture.
- Sprinkle ice-cold water while pulsing until the dough gathers into a ball.
- Remove the mixture from the bowl and knead it gently on a floured surface.
- Cover it in plastic wrap and chill in the fridge for 30 minutes before rolling or baking.
Moreover, using a food processor allows one to work with ingredients that are challenging to combine by hand and blend them evenly. It saves time by processing everything together quickly and usually requires less effort than traditional methods.
A fun fact about food processors is their invention back in 1973. A French salesman named Pierre Verdon invented it as an industrial grater to make hollandaise sauce efficiently!
Who needs a gym when you can just shred a block of cheese and a pound of meat with your food processor?
Shredding Cheese and Meat
When it comes to using a food processor for shredding cheese and meat, the possibilities are endless.
Here is a three-step guide to help you shred cheese and meat with your food processor:
- First, chop the cheese or meat into smaller pieces.
- Then, use the shredding disc in your food processor for finer shreds or the slicing disc for larger ones.
- If you want even more control over the texture of your shredded ingredients, try pulsing them in short bursts until they reach your desired consistency.
In addition to traditional uses like topping nachos or garnishing soups, shredded cheese and meat can add flavor and texture to many other dishes like salads, sandwiches, tacos or casseroles.
Don’t miss out on taking advantage of all that your food processor can do! From slicing vegetables to grinding nuts, there are many different ways you can use this kitchen tool to save time and effort in the kitchen. Give it a try today.
“Who needs a therapist when you have a food processor that can chop your stress away?”
Specialized uses of food processors to make your life easier and your veggies smaller.

Specialized Uses of Food Processors
To streamline your meal prep with ease, turn to specialized uses of food processors with ‘The Many Uses Of Food Processors’ article’s sub-sections – making nut butter and nut milk, making baby food, grinding meat for burgers and sausages, making homemade mayonnaise, pesto, and hummus, and churning ice cream and frozen desserts. Discover how your food processor can enhance your creations with these simple techniques.
Making Nut Butter and Nut Milk
Using a food processor to create homemade nut butter and nut milk is one of the specialized uses of this kitchen appliance. It provides a quicker and more convenient way to make these plant-based alternatives that are free from preservatives and additives.
Here’s how to make nut butter and nut milk using a food processor in five easy steps:
- Start by roasting the nuts, if desired, as it will enhance their flavor.
- Add the nuts to the food processor and pulse them until they turn into small crumbles or a coarse meal.
- Next, let the processor run for about 2-3 minutes while scraping down the sides every 30 seconds. This process helps release natural oils present in the nuts, creating creamy nut butter or milk.
- Once you achieve your desired consistency, add sweeteners or flavors such as chocolate chips or vanilla extract, then blend again until well combined.
- Lastly, pour your homemade nut butter/milk into an airtight container and store it in the refrigerator for up to two weeks.
For added convenience, some food processors come with attachments that allow you to make nut butter/milk directly inside mason jars without transferring it into another container.
Pro Tip: To prolong shelf life, store your homemade nut butter/milk in smaller containers to prevent oxidation caused by repeated exposure to air.
Who needs store-bought baby food when you can just toss in some carrots, peas, and a little bit of love into your food processor?
Making Baby Food
When introducing solid foods to a baby, preparing homemade food is a great way to ensure quality and control ingredients. Utilizing a food processor can simplify the process and allow for easy pureeing and blending of fruits, vegetables, and proteins.
- Collect fresh and organic ingredients
- Clean and chop ingredients into small pieces
- Steam or cook until soft
- Puree in a food processor with liquid until desired consistency is achieved
It is important to note that babies should only consume simple, single-ingredient foods at first to prevent allergies. Gradually introduce new foods, textures, and combinations. Using a food processor for making baby food allows parents to have more control over what goes into their baby’s diet while also saving money compared to purchasing pre-made options.
Interestingly, the introduction of solid foods has evolved throughout history, from feeding babies bread soaked in broth in ancient Egypt to using specially designed feeding bottles in the 1700s. As technology continues to advance, so do methods for creating healthy and nutritious meals for our little ones.
When it comes to grinding meat for burgers and sausages, a food processor is like a personal butcher, without the creepy apron and chainsaw.
Grinding Meat for Burgers and Sausages
When using food processors for specialized purposes, one of the tasks that you might come across is reducing your meat to a fine texture. This process is known as Meat Grinding and can be used specifically for creating delicious burgers and sausages.
Here’s a three-step guide on how to go about it:
- Begin by choosing the right cut of meat. The selection process involves picking fresh, quality cuts of beef or pork from your local butchery that have a good balance of fat content.
- Cut your meat into smaller pieces and then pass them through the food processor with either a large or small grinding disc while being careful not to overwork the machine.
- Your ground meat is now ready, put any extra portions in an air-tight container, store in the fridge or freezer until required.
One essential detail when grinding meat for burgers and sausages using this method is to ensure that everything remains cold at all times throughout the preparation process. Otherwise, this will lead to overheating and ultimately spoilage of your meats.
For an excellent outcome when grinding meats in a food processor for burgers and sausages purposes, we recommend using lean cuts of beef or pork as they produce the best results. Additionally, adding some spices such as salt-free seasoning blends can enhance flavoring.
Store-bought dips and spreads are like canned laughter – homemade ones, made with a food processor, are the real deal.
Making Homemade Mayonnaise, Pesto, and Hummus
When it comes to utilizing food processors, one can specialize in making homemade condiments such as mayonnaise, pesto, and hummus. With a food processor, achieving the perfect consistency for these condiments becomes easier, resulting in fresher and tastier versions than store-bought options. Here’s how to make them at home:
- For mayonnaise: In a food processor, blend egg yolks, Dijon mustard, lemon juice, and salt. Slowly pour in oil until the mixture emulsifies and forms a creamy texture.
- For pesto: Combine basil leaves, garlic cloves, pine nuts or walnuts, parmesan cheese and olive oil into the food processing bowl. Process all ingredients thoroughly until it forms a smooth paste.
- For hummus: Blend chickpeas with tahini paste, garlic cloves, lemon juice and olive oil in a food processor until it forms a smooth paste. Add water if necessary to achieve preferred consistency.
Using a food processor for making condiments is not only healthier but also time-saving. One can experiment with additional flavors like sun-dried tomatoes or roasted red peppers to enhance the taste of the recipe. It should be noted that continuously processing for more than 2-3 minutes might result in heating and possibly altering taste profiles of certain products. Making homemade condiments is one of those things that can give consumers immense satisfaction. A friend who decided to give this technique a try recently was ecstatic when she succeeded in making mayonnaise from scratch for her burgers! Why settle for boring old vanilla when your food processor can churn out ice cream flavors like bacon and avocado?
Churning Ice Cream and Frozen Desserts
When it comes to preparing frozen treats, food processors are a valuable tool. They can make the process of churning ice cream and other frozen desserts quicker and easier. Here are six steps for effectively using your food processor to churn delicious frozen treats:
- Begin by freezing the bowl or blade of your food processor overnight.
- Add your desired ingredients to the bowl, such as cream, milk, sugar, and flavorings.
- Pulse the ingredients together until they form a smooth mixture.
- Place the bowl back in the freezer for about 30 minutes or until thoroughly chilled.
- Run the processor again for about 20-25 minutes until the mixture thickens and becomes ice cream-like in texture.
- Serve immediately or store in an airtight container in the freezer for later use.
It’s important not to overfill your food processor bowl, as this can cause spillage during churning. Additionally, be sure to scrape down the sides of the bowl periodically to ensure even mixing. Using a food processor to churn frozen desserts allows for easy experimentation with different flavors and toppings. Plus, homemade ice cream can be more cost-effective than store-bought options.
When making frozen desserts with a food processor, it’s important to keep in mind that you may need to adjust recipe quantities depending on your particular machine’s capacity. Experimenting with smaller batches at first is often a good idea. Overall, taking advantage of specialized uses like churning ice cream with a food processor can elevate your culinary creations and save you time in the process.
Keep your food processor happy and it will keep your meals deliciously churned out, unlike that ex who couldn’t even make a decent sandwich.


