Understanding Metra Line Output Converter Wiring Diagram
If you’re looking for a clear and easy-to-follow wiring diagram for a Metra line output converter, you’ve come to the right place. In this article, I’ll walk you through the steps of connecting your line output converter correctly, ensuring optimal sound quality in your car audio system. Whether you’re a seasoned DIY enthusiast or just starting out with car modifications, understanding the wiring diagram is crucial for a successful installation.
A line output converter (LOC) is commonly used when integrating an aftermarket amplifier into a factory car stereo system. It converts speaker-level signals from your head unit’s speaker wires into preamp-level signals that can be accepted by an amplifier. The wiring diagram will illustrate how to connect the LOC to your car’s audio system, providing detailed information on which wires to tap into and how to properly ground the converter.
Metra Line Output Converter Wiring Diagram
When it comes to installing a Metra Line Output Converter (LOC), understanding the installation process is crucial. The LOC is a device that allows you to connect an aftermarket amplifier or subwoofer to your car’s factory audio system. It converts the speaker-level signals from your car stereo into a preamp-level signal that can be used by external amplifiers.
The installation process of a Metra LOC involves several steps:
- Locate and disconnect the speaker wires: Start by identifying the speaker wires in your car’s factory audio system. These wires carry the audio signal from your head unit to the speakers. Carefully disconnect these wires, making sure to keep track of their polarity.
- Connect the speaker wires to the LOC: Next, connect each speaker wire to its corresponding input on the LOC. The LOC typically has multiple inputs for different channels, allowing you to connect both front and rear speakers.
- Connect RCA cables: After connecting the speaker wires, attach RCA cables from the output ports of the LOC to your aftermarket amplifier or subwoofer. These cables transmit the preamp-level signal generated by the LOC.
- Grounding and power supply: Finally, ensure proper grounding of both your LOC and amplifier/subwoofer, and provide them with a stable power supply.
Remember, proper wiring is essential for optimal sound quality and avoiding any potential issues with your audio system.
Connection Diagram
To better understand how all these components are connected together during installation, let’s take a look at a basic connection diagram:
This diagram illustrates how audio signals flow from your car stereo through speaker wires, then into a Metra LOC where they are converted into preamp-level signals using RCA cables before being sent to an external amplifier or subwoofer. Understanding this diagram helps you visualize the signal path and ensures a proper setup.
Audio Adjustments
Once you have successfully installed the Metra LOC and connected your aftermarket amplifier or subwoofer, it’s time to make audio adjustments for optimal sound performance. These adjustments may vary depending on your specific setup, but here are a few key areas to consider:
- Gain control: Adjusting the gain control on your amplifier allows you to set the input sensitivity, ensuring that the audio signal matches the capabilities of your speakers or subwoofer.
- Crossover settings: If you’re using a subwoofer, adjusting crossover settings helps determine which frequencies are sent to the subwoofer and which go to your speakers.
- Equalization (EQ): An EQ allows you to fine-tune the frequency response of your audio system, adjusting bass, midrange, and treble levels according to personal preference.
Remember that tweaking these settings requires careful listening and experimentation. Take time to find what sounds best in your specific vehicle and adjust accordingly.
Gathering the Necessary Tools and Materials
Tools Needed
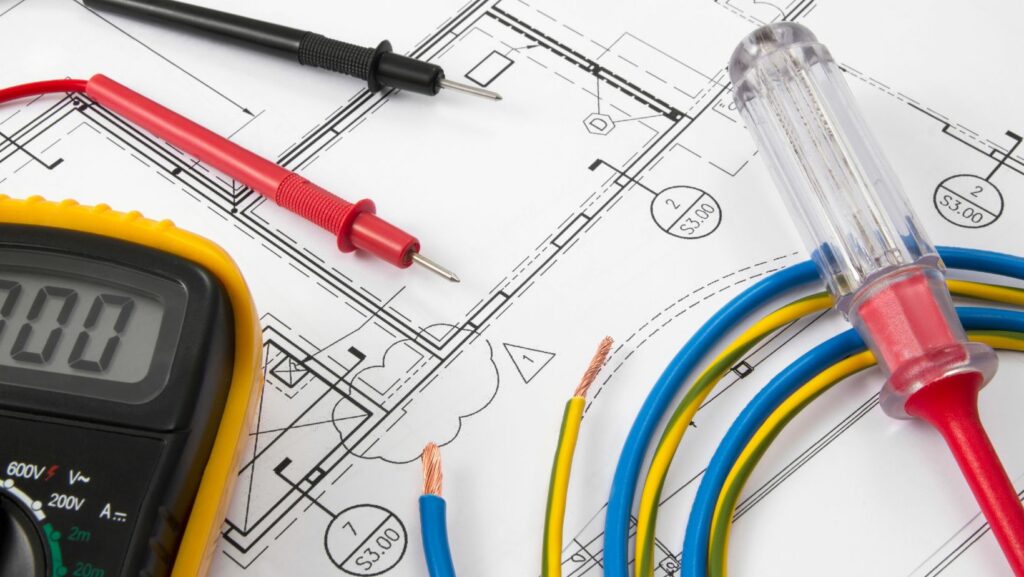
When it comes to wiring an output converter for a metra line, there are several tools that will come in handy. Here are the essential tools you’ll need to gather before starting the installation process:
- Wire cutters/strippers: These tools are crucial for cutting and stripping wires, ensuring a clean connection.
- Crimp connectors: Crimp connectors provide a secure and reliable way to join wires together.
- Multimeter: A multimeter is used to measure voltage, resistance, and continuity. It can be helpful during the installation process for troubleshooting or verifying connections.
- Electrical tape: Electrical tape is used to insulate exposed wires and prevent any short circuits.
- Heat shrink tubing: Heat shrink tubing provides additional protection by shrinking around wire connections when heated, creating a tight seal.
- Screwdriver set: Depending on your vehicle’s make and model, you may need different types of screwdrivers to remove panels or access certain components.
- Flashlight: A flashlight will come in handy when working in areas with limited visibility, such as under the dashboard or inside the trunk.
Remember, having the right tools not only makes the installation process smoother but also ensures a safe and professional-looking result.