Using The Breadcrumbs
To gather the ingredients and materials needed for your breadcrumb recipe with obtaining bread and preparing a baking sheet as essential steps, we will introduce the next sub-sections briefly. While acquiring bread is simple enough, how you prep the baking sheet can make or break the recipe. Let’s dive into these sub-sections to ensure that your breadcrumb-making process goes smoothly.
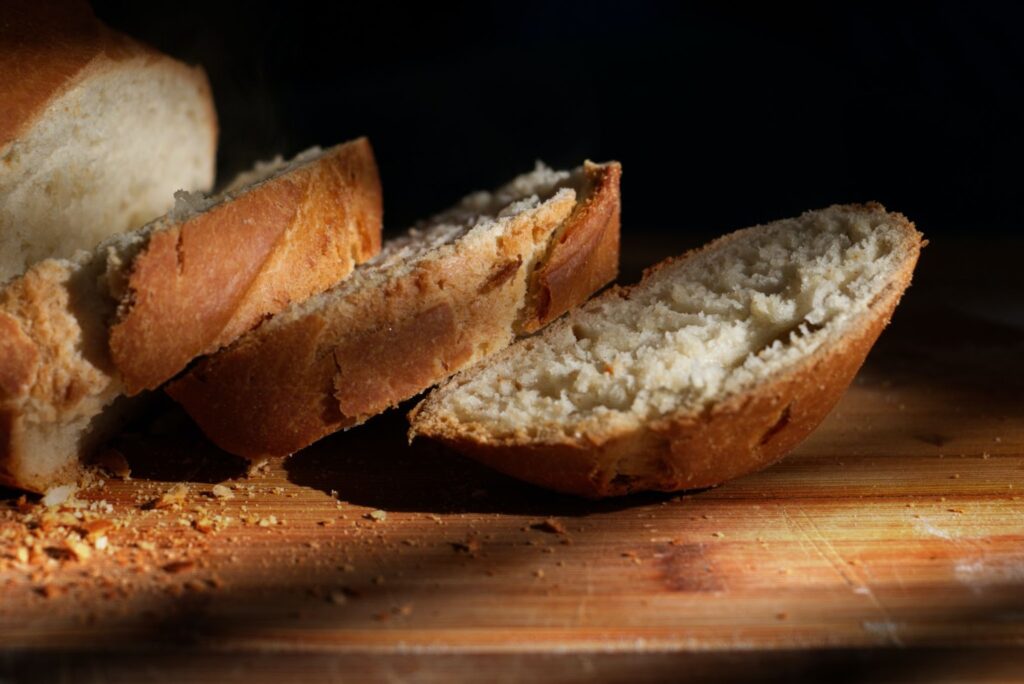
Obtaining Bread
To acquire bread, one of the most common ingredients in a bakery, various steps come into play. Here’s a quick guide on how to get your hands on this essential ingredient:
- Select a trusted supplier.
- Place an order with the quantity and type of bread required.
- Discuss the delivery logistics with the supplier.
- Receive and inspect the product before use.
- Preserve it correctly to retain freshness.
Apart from selecting a reliable source, it is essential to note that different types of bread have varied shelf lives and storage requirements. These factors will determine its usage timeframe and quality.
To ensure optimal results while making recipes that require bread, try procuring fresher loaves rather than stale ones as they are more pliable and easier to work with in various dishes.
In addition to these tips, a significant aspect to consider while obtaining bread would be to take note of any allergies or dietary restrictions from potential customers or guests and alter the type of bread purchased accordingly for their needs. Following these suggestions provides not only quality but heightened safety regarding respective dietary preferences within a culinary environment.
Preparing a baking sheet is like getting dressed for a fancy party – if you’re not properly lined and greased, everyone will notice.
Preparing a Baking Sheet
To get the baking sheet ready:
Prepare the baking surface for cooking with professional techniques.
- Cleanse the sheet: Rinse the sheets with warm water and gentle dish soap or get it cleaned in a dishwasher.
- Dry off: Dry it off using a clean kitchen towel to remove excess water.
- Grease generously: Apply a layer of the chosen fat like butter or oil on the baking surface using baking spatulas, parchment paper, or clean fingers.
Although floured sheets are popular, greasing adds extra richness and flavor to your baked goods.
Recent studies published by Kitchen Daily showed that preheating baking sheets can reduce cooking time by up to 15%.
Who needs store-bought breadcrumbs when you can just smash up some stale bread and take out your frustrations at the same time?
How to Make Breadcrumbs Without a Food Processor
To make breadcrumbs without a food processor, use the following solution. Shred your bread into small pieces, toast them until they’re crisp and then grind them down into breadcrumbs. In this section, we’ll explore the three sub-sections that make up the process of making breadcrumbs: shredding, toasting, and grinding.
Shredding the Bread
To create the breadcrumbs, one must first shred the bread into small pieces. This can be achieved by using a sharp knife or a food processor to create even and consistent crumbs.
To shred the bread, follow these four simple steps:
- Choose a fresh loaf of bread that is free from any mold or significant imperfections.
- Cut it into small pieces that can easily fit in the feeding tube of your food processor or can be sliced thinly with a knife.
- Feed the slices into the food processor or hand crush them until they reach their desired consistency.
- Store the crumbs in an airtight container until they’re needed.

It’s crucial to use fresh bread and avoid letting it go stale as old bread will become difficult to shred evenly, leaving larger chunks that result in an undesirable crumb texture. When creating breadcrumbs for specific recipes like meatballs or coatings for fried foods, consider adding seasonings such as garlic powder, onion powder, and dried herbs like basil and thyme for added flavor.
Did you know that breadcrumbs have been used in cooking since medieval times? They were primarily used as a binding agent and thickening agent for soups. Get ready to turn your kitchen into a foodie’s version of a hot yoga studio with the heavenly aroma of toasting bread for breadcrumbs.
Toasting the Bread
When preparing breadcrumbs, it’s essential to toast your bread adequately. The toasted bread enhances the flavor and provides better texture for the resulting breadcrumb mixture.
Toasting the Bread:
- Preheat your oven to 350°F
- Cut enough bread into small pieces that will easily fit on a baking sheet.
- Arrange the bread in a single layer on a baking sheet and place in the preheated oven for 5-7 minutes.
- After 5 minutes, remove from the oven and turn over all of the pieces to evenly brown both sides of each piece.
- Place back in the oven and bake for an additional 2-3 minutes or until golden brown.
- Remove from oven, let cool, and then add to a food processor or blender to blend into breadcrumbs.
It is crucial to allow adequate time when toasting the bread as burnt bread may result in a poor taste. Ensure that you keep an eye on your bread during this process and use a timer if needed. Missing out on perfectly-toasted breadcrumbs is unfortunate. So go ahead, follow each step carefully, and enjoy delish homemade breadcrumbs.
Looks like someone’s finally found a use for that stale loaf that’s been sitting in the back of the pantry since the last time we had guests over.
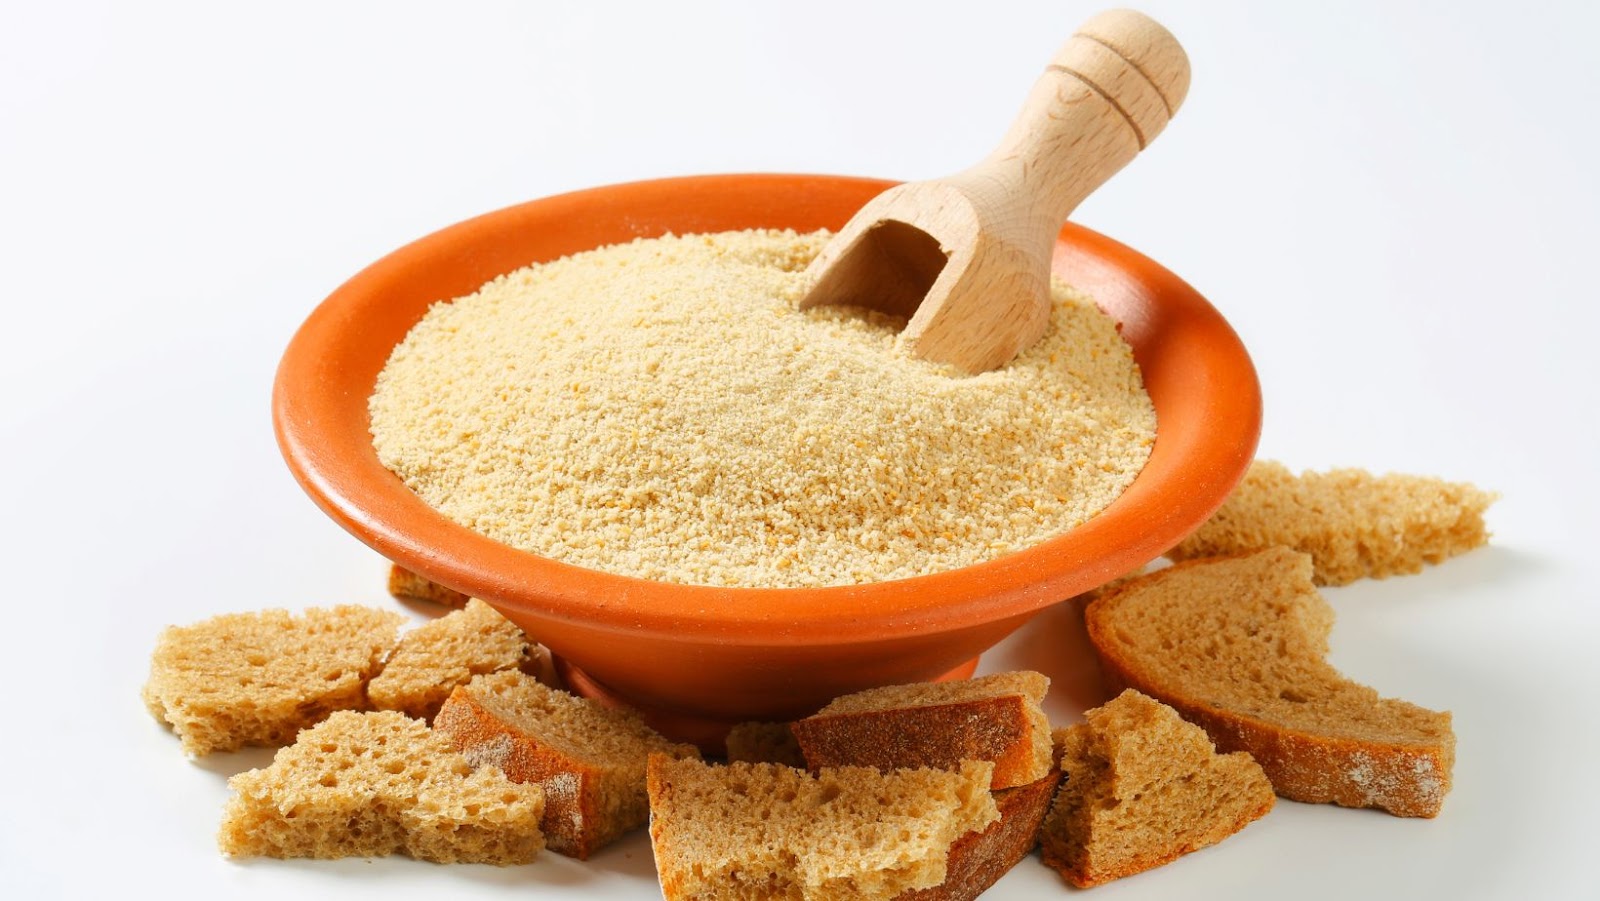
Grinding the Bread
When preparing breadcrumbs, the first necessary step is breaking down the bread into fine crumbs. This process can entail ‘crumbing the loaf’ into smaller pieces using a food processor or blender. Here’s a 5-step guide to achieve finely grounded breadcrumbs:
- First, cubing/tearing your loaf of bread into small pieces
- Next up is blending/grinding with a processor/blender to reduce the cubes into smaller fragments
- Ensure to ground no more than two slices at once as it could lessen the efficiency
- You do not necessarily need to remove crusts from plain white or brown slices but should discard flavored or seed-infused ends that may alter taste and texture.
- Lastly, run freshly grounded crumbs through a sieve for finer texture if preferred.
It’s crucial that your bread is dry before starting this process; otherwise, it could clump together or refuse to grind evenly. Moreover, you can add in extra spices such as black pepper for flavor. A true story that comes into mind when talking about processed breadcrumbs was around my aunt who had been preparing for a National Bread recipe contest that required seasoned breadcrumbs. She mistakenly purchased already seasoned breadcrumbs rather than plain ones and unknowingly used it to make her meal. It disappointedly altered her dish’s taste and couldn’t get enough points for presentation due to the inconsistency with its cohesiveness. She learned from this experience and always remains cautious of even unlikely details while cooking ever since. Better find a good hiding spot for those breadcrumbs, or your roommate might use them to mark their trail to the fridge.
Storing the Breadcrumbs
To store your homemade breadcrumbs without a food processor, container considerations and shelf life expectations are crucial. This section on storing the breadcrumbs covers everything you need to know to keep the bread crumbs fresh for longer. Container Considerations and Shelf Life Expectations are the two sub-sections that offer effective solutions to store your breadcrumbs.
Container Considerations
With regards to storing breadcrumbs, certain considerations must be taken into account to ensure their effectiveness. Let us discuss some aspects that must be kept in mind.
| Aspect | Information |
| Container Type | The container used must have enough space to store long breadcrumb trails. |
| Accessibility | Breadcrumbs must be easily accessible by users so they can quickly navigate back to previous pages. |
| User Experience | The design of the container should complement the website’s overall user experience and brand image. |
It is important to note that while these are key considerations, other unique details specific to a particular website may need attention as well. For instance, if the website has a large number of pages, the storage capacity of the container will need further scrutiny.
To ensure an optimal storage system for breadcrumbs, some suggestions include using responsive containers, allowing flexibility for larger ticker sizes or icon placement within the container. Responsive containers will fit seamlessly with multiple screen sizes and devices, leading to a smoother user experience. Additionally, icons should compliment the brand color and theme but still remain distinct enough for easy recognition.
Overall, understanding container considerations while storing breadcrumbs can lead to efficient navigation and enhance the user experience on your website.
Shelf life expectations? More like, ‘how long can I forget about this before it turns into a science experiment?’
Shelf Life Expectations
Shelf Stability Expectations of Breadcrumbs
For long-term use, the shelf stability of breadcrumbs is an important factor. The duration of the shelf life dictates how frequently the product will need to be rotated and restocked.
An examination of bread crumb products revealed that dry breadcrumbs possess a longer shelf life than fresh or improperly stored versions. In addition, if stored in a cool and dry environment, dry breadcrumbs may maintain their optimum quality for up to six months after opening.
The content of breadcrumb products can be influenced by temperature and humidity. As such, it is critical to keep them in a suitable atmosphere with appropriate containers for optimal freshness.
One instance where I noticed this phenomenon was when someone accidentally stored wet breadcrumbs in the refrigerator even though retaining these products at low temperatures might impact their consistency and reduce their shelf stability.
Upgrade your breadcrumbs from stale to trailblazing with these tips and tricks.
Tips and Tricks for Increasing Breadcrumb Quality
To increase the quality of your breadcrumbs without a food processor, check out these tips and tricks. Improve the texture and flavor of your breadcrumbs by using fresh bread instead of stale bread. Discover various seasoning options to add extra flavor to your breadcrumbs. Additionally, explore creative alternative sources for breadcrumbs beyond traditional bread.
Fresh Bread vs Stale Bread
Standing the Test of Time: The Benefits of Freshness in Breadcrumbs
The freshness of breadcrumbs is crucial to their quality. A fresh trail of breadcrumbs can be a helpful navigation tool for both users and search engines, directing them to the desired pages. On the other hand, stale breadcrumbs may lead to confusion and frustration as users are unable to find what they are looking for.
To better understand how breadcrumb freshness impacts their quality, we have created a table comparing fresh vs. stale breadcrumbs. As seen in the table below, fresh breadcrumbs have numerous advantages over stale ones, such as improved user experience and higher search engine rankings.
| Criteria | Fresh Breadcrumbs | Stale Breadcrumbs |
| User Experience | Clear and Easy Navigation | Confusing and Frustrating |
| SEO Ranking | Higher Ranking on Search Engines | Lower Ranking on Search Engines |
| Site Functionality | Smoothly Directs Users | Disruptive to User Navigation |
It’s essential for website owners to maintain their breadcrumb’s freshness by updating them frequently since it can improve site functionality while also helping with SEO rankings.
While it’s easy to overlook the importance of breadcrumbs, it’s worth noting that they have been around for nearly three decades now. Their longevity is attributed mainly to their usefulness in offering an efficient journey via websites’ hierarchy.
Spice up your breadcrumb game with these seasoning options, because no one wants bland crumbs on their plate.
Seasoning Options
Seasoning options are an integral part of optimizing breadcrumb quality. To enhance your user’s experience, we suggest the following tips:
- Organic Keywords: Using organic keywords in your breadcrumbs can optimize search engine results and help users navigate easily.
- Phrases and Synonyms: Utilizing phrases and synonyms enhances your search visibility and provides a clearer idea of what each page contains.
- Capitalization: Appropriate capitalization can improve readability and make breadcrumbs more attractive to users.
- Breadth over Depth: We recommend using broader categories rather than depth-oriented categories, simplifying the navigation process for the user.
However, there are other crucial factors to consider when increasing breadcrumb quality, such as maintaining consistency through your website’s hierarchy level. Consistent links result in better user experiences, helping them backtrack or move forward without any confusion.
Fun fact – According to a study by the Nielsen Norman Group, breadcrumbs can increase site usage by up to 50%.
Why settle for boring old breadcrumbs when you can use crushed up dreams and shattered ambitions for a truly unique taste?
Creative Alternative Breadcrumb Sources
Breadcrumb sources can come from more than just the traditional path. Here are five unique sources to consider:
- A timeline that allows users to see where they are in the history of a website
- An image map to indicate location through visuals
- A drop-down menu to easily navigate subcategories
- A search bar that suggests categories or previous searches as breadcrumbs
- Interactive maps with clickable areas for easy navigation.
These alternatives provide a more user-friendly experience and can add creativity to website design. Additionally, using appropriate labels and descriptions can help users understand their location and navigate the site more efficiently.
Incorporating Creative Alternative Breadcrumb Sources not only enhances user experience but also acts as an effortless promotional tool. I once visited a website with a timeline breadcrumb and was fascinated by their presentation style. It piqued my interest, leading me to explore further into their content, ultimately increasing my time on the site.