
How To Use A Food Processor
To understand the difference between a food processor and a blender when it comes to food preparation, the sub-sections you need to go through are: What is a Food Processor?, What is a Blender?, and Major Differences between a Food Processor and a Blender. These sub-sections provide a brief guide on both food processor and blender as well as the crucial dissimilarity between them.
What is a Food Processor?
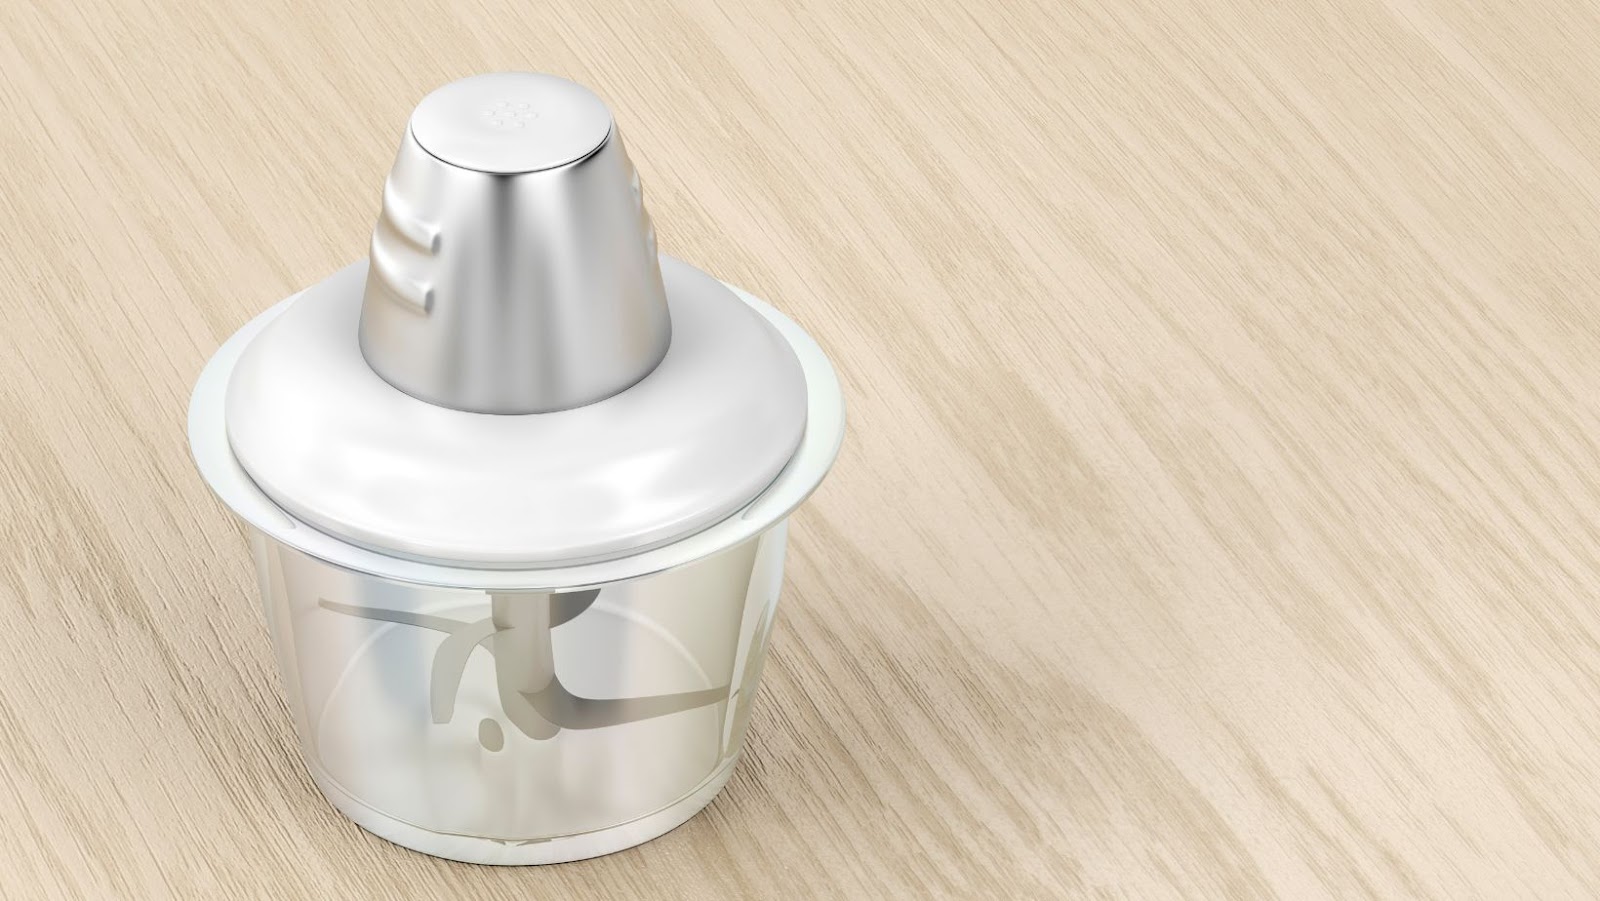
Food processors are kitchen appliances that chop, dice, slice, and puree food. They have a large capacity and powerful motor that make it easy to process large and tough food items quickly. In addition, they come with different blades and attachments that can shred cheese, mix dough, grind meat or nuts.
Furthermore, unlike blenders, food processors do not require any liquid for smooth operation. They have a wider bowl and blade structure which makes them more efficient at handling solid or dry ingredients. In comparison to a blender, food processors do not blend as smoothly but provide more control over the texture of the food.
A unique feature of some high-end models is their ability to perform multiple functions like juicing or grinding coffee beans. This versatility adds value while saving money on purchasing separate appliances. According to a report by Statista (2021), the global market for food processors is expected to grow from 5.4 billion USD in 2020 to 7 billion USD by 2026.
Blenders: because sometimes you just want to turn your fruits and veggies into a smoothie instead of a salad.
What is a Blender?
Blenders are versatile kitchen appliances that can puree, blend, emulsify, and mix ingredients. They use sharp blades powered by an electric motor to break down solid elements into a liquid consistency. Blenders come in various sizes and styles, such as countertop or handheld models. These sophisticated devices can easily make smoothies, shakes, soup stocks, dressing sauces, frozen drinks and many more liquids.
In particular, blenders are popularly used for making smoothies as they can achieve a smooth texture by breaking down fruits and vegetables’ fibers quickly. Hand-held blenders are useful when working with small batches of food with less liquid while countertop blenders work well for larger quantities. Additionally, high-powered blenders can also grind nuts or mix dough.
One critical advantage of using blenders is that they save time when preparing meals. Unlike manual processing mechanisms through knives or mashers, putting ingredients in a blender allows for the easy breakdown of produce by pressing just one button. Moreover, it reduces waste by transforming any extra produce into healthy beverages or dips.
To optimize your blending experience, try adding fluid components like milk or juices before adding other solid ingredients to help keep the blades moving smoothly. Lastly but not least important is the cleaning process; always never forget to properly clean the blender’s blades after every use to prevent it from rusting over time.
Blenders make smoothies and processors make salsa, but don’t get them confused unless you want a chunky drink or a smooth dip.
What is the Difference Between a Food Processor and a Blender
When it comes to kitchen appliances, the nuances between similar devices can often be confusing. Understanding the distinctions between a food processor and a blender is essential for optimal use of each machine. In order to clarify, we have created a table that highlights the key differences between a food processor and a blender.
| Food Processor | Blender |
| Chops and purees solid foods | Blends liquids or soft foods |
| Comes with multiple blades | Has one blade |
| Easier to make dough or salsa | Better for smoothies and drinks |
| Can handle larger quantities | Smaller volume capacity |
It’s important to note that while there is ample overlap between these two machines, their differing capabilities make them useful in different scenarios. For instance, while you could attempt to blend up some solid vegetables in a blender, you’ll likely end up with an uneven mixture. Furthermore, because blenders only have one blade and are primarily used for mixing liquid substances together thoroughly, it would not be recommended to try making something like dough in a blender. Pro Tip: Consider your needs when selecting between these two machines – if you want versatility when it comes to mixing substances of differing consistency or you tend towards needing larger quantities done at once, then the food processor is the way to go. If you’re more interested in making smoothies or other team-based drinks on a regular basis, then choosing a blender will serve your purposes better. Using a food processor is easier than pie unless you’re actually making pie, in which case it’s equally easy.
How to Use a Food Processor
To master the art of using a food processor while understanding the difference between a food processor and a blender, the section titled ‘How to Use a Food Processor’ with sub-sections like ‘Preparing the Food Processor’, ‘Understanding the Blades’, ‘Safety Measures’, ‘Common Mistakes to Avoid’, and ‘Basic Recipes to Try in a Food Processor’ will help you achieve your goal efficiently.
Preparing the Food Processor
Before using a food processor, it is crucial to prepare it. Ensuring that the food processor is set up correctly will allow for safe and efficient use.
To Prepare the Food Processor:
- Assemble the machine according to the manufacturer’s instructions.
- Ensure that all components are firmly in place before turning on the power.
- Clean all parts thoroughly before use, including blades and attachments.
It is also important to note that different types of foods may require unique attachments or settings. Be sure to refer to the user manual or recipe directions when preparing specific ingredients. For smooth operation, ensure that all parts have been properly secured before turning on the machine. Failure to do so may result in damage to the appliance or injury to users.
One time, while helping my friend prepare a meal for their catering business, we neglected to securely fasten the lid onto their food processor. When we turned it on, ingredients flew out of the machine and made an enormous mess in their kitchen. From then on, we always made sure to triple-check that everything was assembled correctly before using appliances like these.
Get ready to slice and dice with more precision than a Hollywood plastic surgeon – understanding the blades of your food processor is the key to culinary success.
Understanding the Blades
When it comes to utilizing a food processor, comprehending the applications of different blades becomes crucial. Without proper knowledge, one can easily damage the appliance or even put their safety at risk.
To simplify this task, let’s explore the blades characteristic through a practical “blades comparison” approach laid out in Table 1 below.
| Blade | Use Case |
| S-Shaped Blade | Great for pureeing and mixing ingredients. |
| Dough Blade | Use specifically for kneading doughs. |
| French Fry Disc | Best suited for cutting potatoes into fries. |
| Shredding Disc | Ideal to shred hard vegetables like carrots and cheese. |
Apart from these blades, some models include additional slicing discs, julienne discs, or spiralizing attachments for enhanced functionality. It’s essential to remember a food processor must not operate without the lid securely in place and inserted pusher preventing any hands from getting trapped. Always consult with an instruction booklet before handling any appliances.
As the saying goes, “Necessity is the mother of invention,” Philippe Houzé initially designed a similar mechanism while seeking a more efficient method to crush almonds at one of his own pastry shops in France around 1971. In conclusion, understanding every attachment’s unique abilities helps ensure both an effective and safe food processor operation. Remember to keep your fingers far, far away from the blade – unless you’re looking for a new way to spice up your meal.
Safety Measures
When operating a food processor, there are certain safety precautions that need to be taken into consideration. These measures help reduce the risk of injury and damage to the machine. Here are some guidelines to follow:
- Ensure that the machine is unplugged when assembling or disassembling it.
- Avoid turning on the machine without locking the lid securely in place.
- Never put your fingers or any other objects in the feed tube while the blade is still spinning.
- Don’t overload the processor beyond its capacity limit as this can cause it to overheat or malfunction.
- Always cut ingredients into smaller pieces before putting them into the processor bowl to prevent damage to the blades and wear-and-tear to your machine over time.
It’s also important to note that you should never submerge any part of your food processor in water unless it’s stated by your model’s instructions. Lastly, make sure that you carefully read through all instructions before using a new machine for the first time, and consider consulting with an expert if you have any questions or concerns.
Some suggestions for prolonging your food processor’s lifespan include cleaning it thoroughly after each use, storing it in a dry and cool place, and sharpening or replacing blades when they become blunt to ensure efficient processing. Routine maintenance will keep your food processor running optimally for years to come. Using a food processor on your fingers is not a shortcut to chopped onions – trust me, I learned the hard way.
Common Mistakes to Avoid
When using a food processor, it’s common to make errors that may affect the output. Here are some tips to help you avoid such mistakes:
- Process too long: Leaving ingredients in the processor for too long leads to an overworked mixture. To prevent pureeing or an unrecognizable mix, pulse instead of pressing and hold down that button.
- Not cleaning before use: It’s crucial to clean your food processor before use, ensuring there aren’t any leftovers from previous sessions. Don’t just rinse; disassemble the blades and wash with soap and water.
- Using dull blades: Blunt blades produce uneven results due to uneven cutting. To avoid this error, sharpen your blades regularly.
Additionally, ensure that all parts are assembled correctly before operation.
Have you ever found yourself struggling with an overfilled bowl while blending? To help manage those large portions, blend in batches instead of stuffing too much at once. One time a friend tried harder to work her mixer instead of stopping whenever necessary led her to get a ruin’s cake. Proving even experienced cooks can make mistakes if they aren’t careful!
Get ready to up your recipe game with these basic food processor hacks – no more unevenly chopped onions and burnt garlic!
Basic Recipes to Try in a Food Processor
If you’re looking to make appetizing dishes with your food processor while saving time, try making these simple recipes:
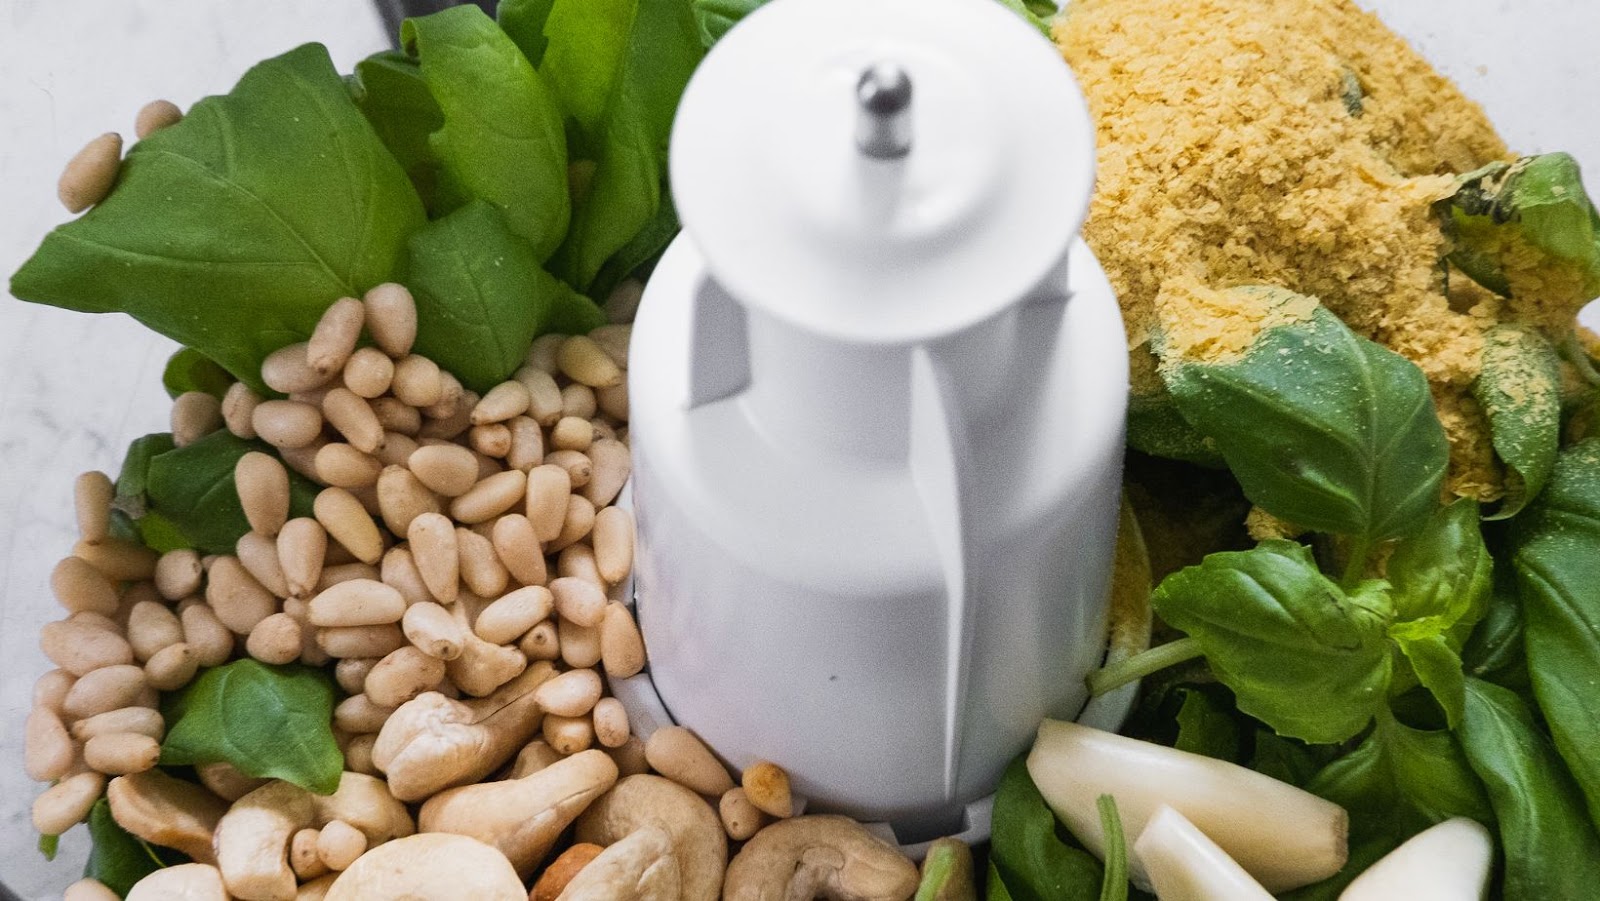
- Homemade pesto sauce with basil and pine nuts
- Creamy hummus dip with chickpeas and tahini
- Frozen fruit sorbet with fresh berries and honey
- Nut butter spread made with almonds or peanuts
- Savory breadcrumbs using leftover bread slices
Use the versatile appliance to make easy and tasty homemade sauces, dips, spreads, frozen desserts, and breadcrumbs that add flavor and convenience to your meal prep. For a creamier texture in your sauces or spreads, use the pulse button instead of continuously blending for a smoother outcome.
Pro Tip: Chill the bowl and blade in the fridge before using them for a smoother blend.
Turn your food processor into a ninja with these tips and tricks for maximum chopping power.
Tips and Tricks for Using a Food Processor Effectively
To use a food processor effectively with proper tips and tricks, what you need is a clear understanding of its features and possibilities. In this segment, you will learn how to make the most of your food processor by exploring some essential sub-sections – grinding meat, making nut butter, blending smoothies, and preparing bread dough.
How to Grind Meat in a Food Processor
Looking to make ground meat at home using a food processor? Here’s what you need to know.
To grind meat in a food processor, follow these easy steps:
- Choose the right cut of meat – Avoid using lean cuts and opt for fatty meat
- Cut the meat into small pieces – this will help in grinding the meat to an even texture
- Pulse the food processor – use pulsing action instead of continuous grinding for better results
- Check the texture – Once ground properly, check for any large chunks of meat left behind
If raw meat is used in the Food Processor, ensure that you sanitize every part after use to avoid contamination. When churning chicken or beef into ground meat with your trusty food-processor, remember to add enough fat so that they do not end up being too dry or hard.
Once upon a time I attempted to grind a bad cut of beef using my new Food Processor. I didn’t realize that my choice of selecting the leanest slab didn’t make things easier when it comes to processing it up. Realizing my mistake, I picked off my culinary mistakes and took another go with a different cut – which turned out fine thanks to a strategically selected crimson strip steak!
Get your nut butter fix without the hefty price tag or risk of botulism by making it yourself in a food processor – and no, licking the spoon isn’t optional.
How to Make Nut Butter in a Food Processor
When it comes to creating your own nut butter, a food processor can be your perfect partner. This tool helps you make delicious nut butters right at home, without added additives or preservatives, which can be a great healthier alternative for people who want to have control over what they put in their bodies.
To make nut butter in a food processor, follow these steps:
- Measure out your nuts and pour them into the bowl of a food processor.
- Place the lid on top and process the nuts in short bursts until they’re finely ground.
- Scrape down the sides of the bowl with a spatula as needed to ensure everything is incorporated evenly.
- Continue processing until the mixture becomes smooth and creamy (the total time may vary depending on the specific nuts you’re using).
- You can add additional flavors such as honey or salt once your mixture has attained your desired consistency.
- Transfer your freshly-made nut butter to an airtight container and store it in your refrigerator for up to two weeks.
A few important things to keep in mind while making nut butter are that different types of nuts may require a slightly different processing time, so it’s essential to monitor how each batch looks. The type of food processor one uses is also significant since some may have blunter blades that won’t work as well. Using high-quality nuts with heavy natural oils will save time on processing. One must be patient, diligent and careful!
Believe it or not, peanut butter was originally created as an alternative protein source. It first came on the scene during World War II when meat became scarce for regular consumption. Julius S Jepson created world-renowned peanut butter right here in Canada in 1884!
Why waste time chewing when your food processor can turn everything into a smoothie?
How to Make Smoothies Using a Food Processor
For those looking to create delicious smoothies at home, a food processor can come in handy. Here is a simple guide on how to use it effectively:
- Begin by gathering all the ingredients needed for the smoothie and cutting them into smaller pieces that will easily fit into the food processor.
- Next, place the ingredients into the food processor and pulse until they are finely chopped and blended together.
- Gradually add liquid, such as almond milk or water, to help create the desired consistency of the smoothie while blending.
- Allow the food processor to blend everything together until it reaches a smooth texture.
It’s also worth noting that taking care of your food processor and properly cleaning it after each use will ensure its longevity and optimal performance. Don’t miss out on the opportunity to create healthy and delicious smoothies at home using your trusty food processor. Start experimenting with different combinations of ingredients and enjoy!
Kneading bread dough by hand is so 20th century, let your food processor do the work while you catch up on the latest Netflix binge.
How to Make Bread Dough in a Food Processor
To effectively create bread dough using a food processor, consider these tips and tricks:
- Add the ingredients for your bread recipe to the food processor, starting with dry ingredients first.
- Pulse the mixture until it forms large crumbs.
- Slowly add water or other liquids until the dough forms into a ball and begins to pull away from the sides of the processor.
- Continue to knead the dough in the food processor for several minutes until it becomes smooth and elastic.
- Remove the dough from the processor and let it rise according to your recipe’s instructions.
- Once risen, shape your dough as desired and bake according to instructions.
It’s important to note that while using a food processor can speed up the bread-making process, it does not replace good old-fashioned hand kneading entirely. You may need to finish kneading by hand in order to achieve that perfect texture.
A little practice will make this process an easy routine no matter how complicated recipes may seem at first glance. And who knows, you might even start impressing all your friends with homemade bread baked right out of your own kitchen!
Cleaning your food processor is like cleaning up after a murder…but with less bleach and more dish soap.